How to Install an Aftermarket Hour Meter on a Toro TimeCutter
When maintaining a Toro TimeCutter, one invaluable tool is an aftermarket hour meter. This simple device can significantly ease the management of service intervals and ensure your mower operates at peak efficiency. Particularly, knowing when to change the engine oil — crucial in warmer climates like Florida where service every 50 hours post the initial 10-hour oil change is recommended — becomes seamlessly manageable. Here’s a detailed guide on installing an hour meter on a Toro TimeCutter, using the Time Cutter 75750 model as an example.
Understanding the Benefits of an Hour Meter
An hour meter isn't just a fancy addition; it's a necessity for keeping your maintenance on schedule without having to rely on guesswork or memory. It serves as a reminder for regular maintenance tasks such as oil changes, blade checks, and other critical service points that ensure your mower runs smoothly and lasts longer.
Choosing the Right Hour Meter
The Toro TimeCutter models use a specific hour meter kit, which is typically available at your local Toro dealer. For the Time Cutter 75750 model, for instance, you would need part number 116-5461. This kit includes the hour meter itself and a small instruction manual.
Installing the Hour Meter
Preparing the Installation Area
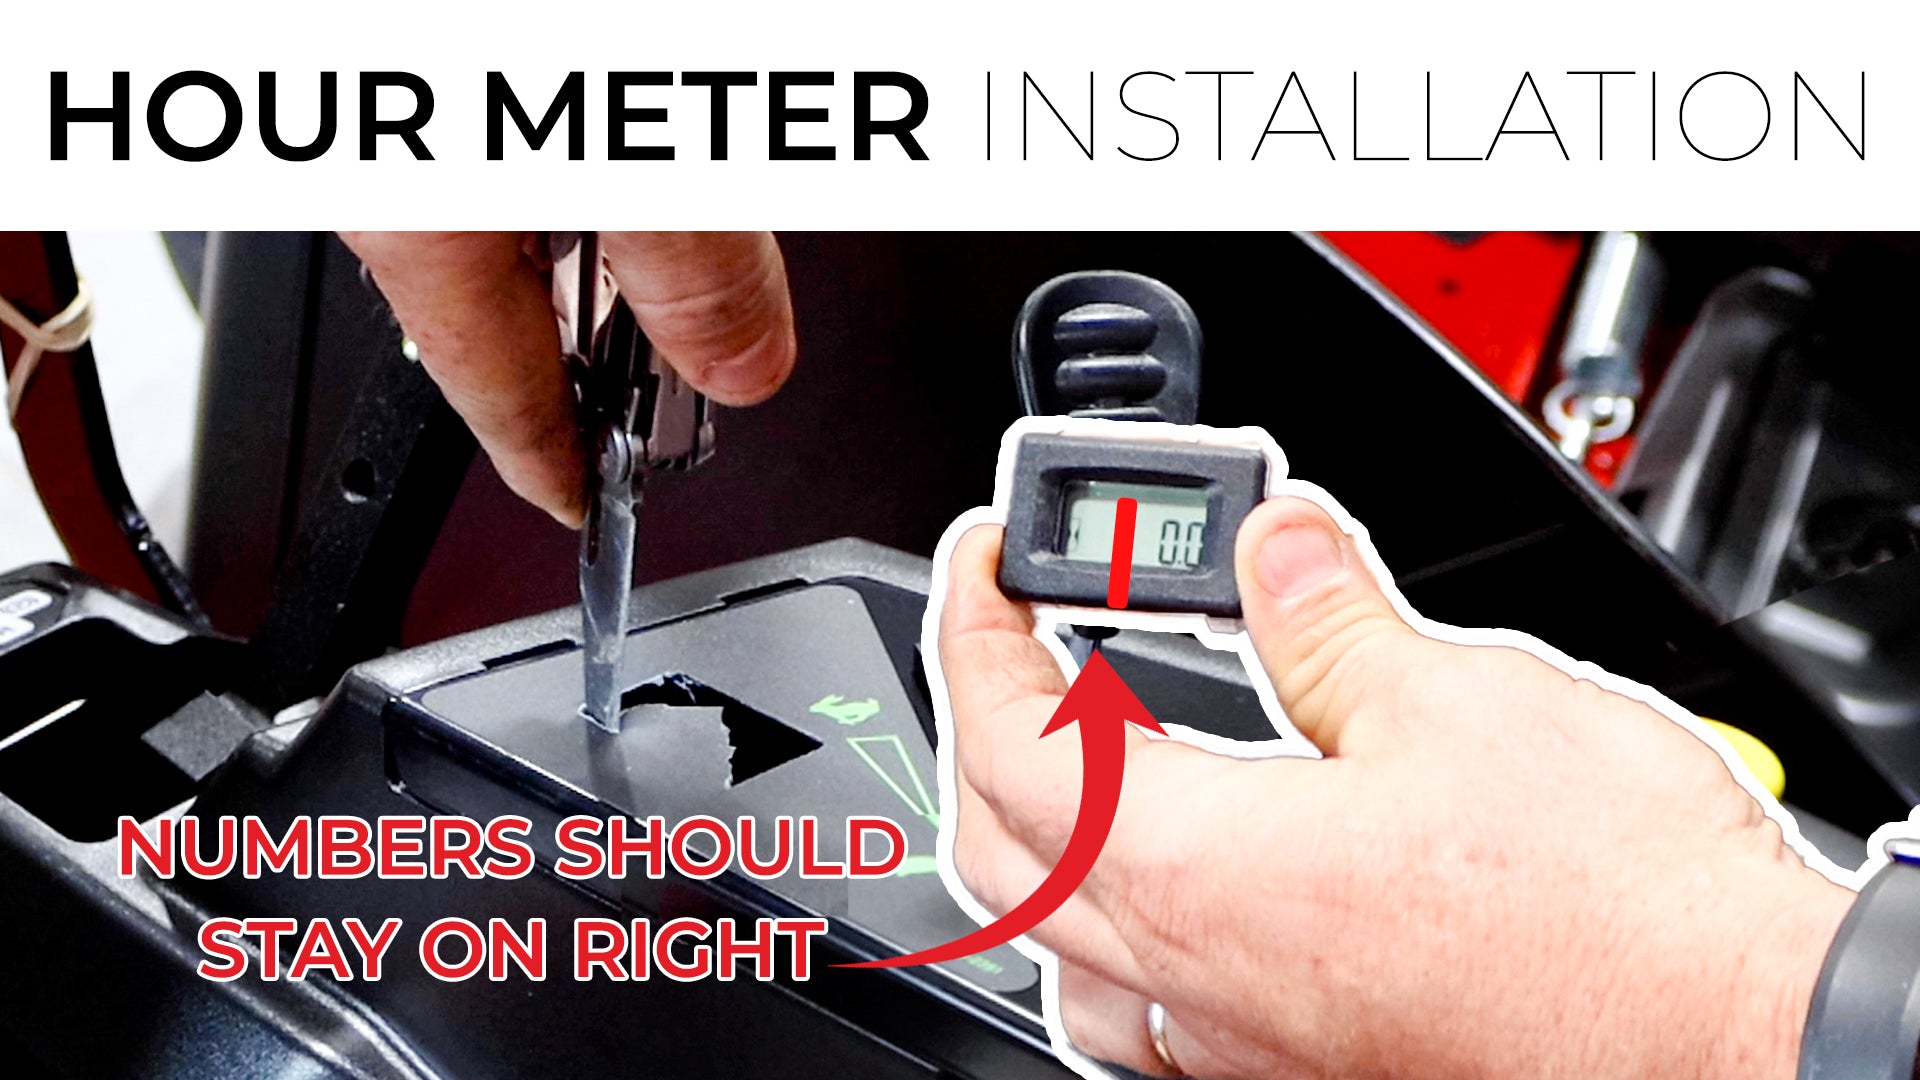
- Begin by locating the designated area for the hour meter, which is generally near the throttle. You will feel a sticker that you need to modify to fit the meter.
- Use a sharp knife or a razor blade to cut out the necessary section. An 'X' pattern cut from corner to corner of the marked area is a good technique. Trim around to remove the rest of the square. The cuts don't need to be perfect as the hour meter will cover slight imperfections.
Wiring the Hour Meter
- Underneath the mower's seat, locate the control panel and identify the wire harness that includes a red wire and two black wires.
- Carefully remove any electrical tape around these wires to free the harness without damaging it.
- You’ll notice three prongs on the back of the hour meter but typically only two are used. Attach the wire harness to these prongs.
Securing the Hour Meter
- Ensure the orientation of the hour meter is correct with the hourglass icon on the left side.
- Seat the hour meter into the slot you cut out, ensuring it fits snugly at the bottom.
- Once positioned correctly, press it firmly into place until it clicks, securing it on the dashboard.
Conclusion
By following these straightforward steps, you can successfully install an hour meter on your Toro TimeCutter. This not only helps in tracking operational hours but also aids in maintaining efficient service intervals. Regularly checking and servicing your mower as dictated by the hour meter can prolong the life of your machine, allowing you to enjoy optimal performance for many years. Keep your mower in top condition and ensure it continues to be a reliable tool in your landscaping arsenal. Remember, a little effort in installation can lead to significant benefits in maintenance and efficiency. Happy mowing!
Products Discussed In The Video
- Toro TimeCutter Hour Meter Kit Part Number: 116-5461
- Toro TimeCutter | 50" Deck | 23HP Kawasaki Zero Turn Mower | 75750
Shop All Toro TimeCutter Mowers
Check out more fun and informative videos on our YouTube Channel here:
https://www.youtube.com/@mainstreetmower
#toro timecutter hour meter installation, #aftermarket hour meter toro, #kawasaki engine lawn mower hour meter, #toro timecutter 75750 review, #toro lawn mower maintenance, #toro lawn mower service intervals, #lawn mower hour meter install guide, #lawn mower break-in oil change, #lawn mower oil change frequency, #toro fab deck review, #toro time cutter 50 inch deck, #kawasaki lawn mower engine review, #simple lawn mower upgrades, #diy lawn mower hour meter install, #lawn care business tips, #lawn mower dealer parts, #lawn mower preventative maintenance, #toro 75750, #timecutter, #main street mower, #winter garden, #clermont, #ocala

