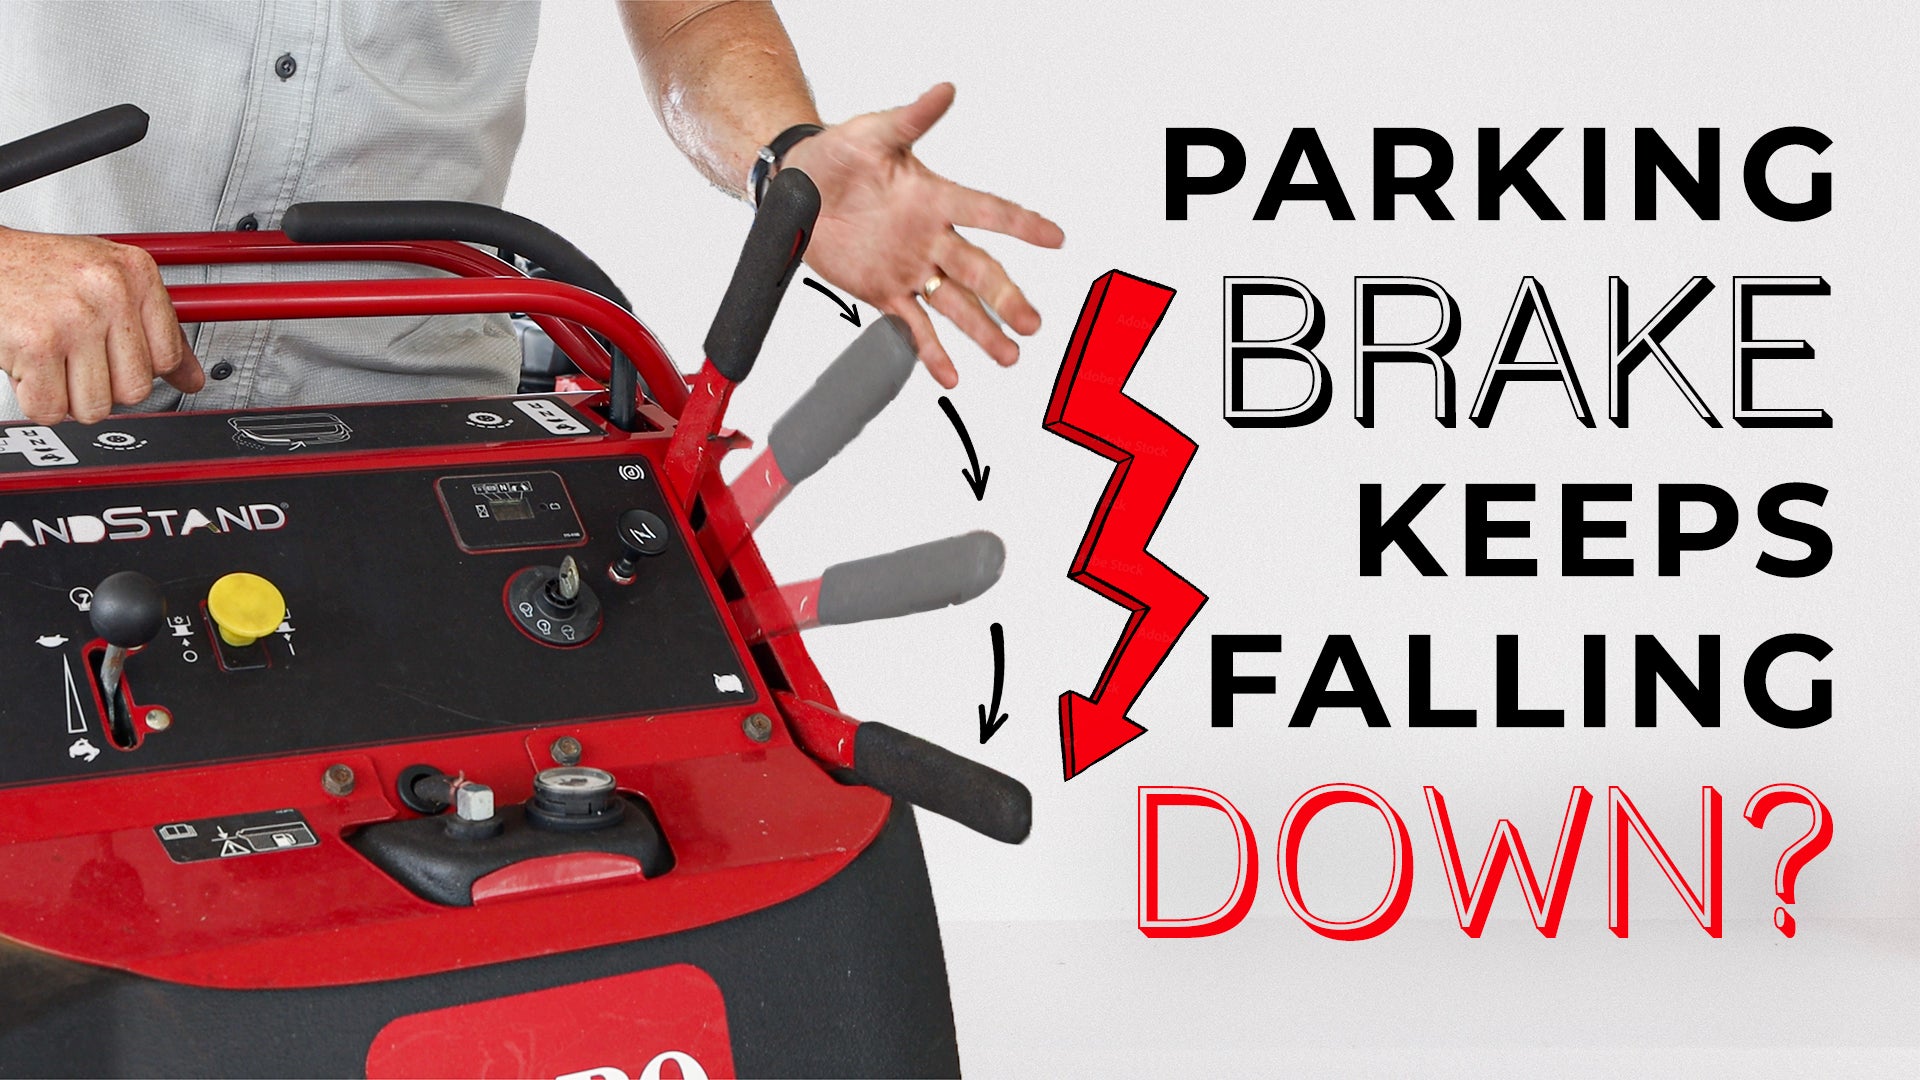
How to Adjust the Parking Brake on a Toro Grandstand Stand-On Mower
If you've noticed the parking brake on your Toro Grandstand isn't holding as securely as it should, you're not alone. Whether you've just replaced your tires, are using different-sized tires, or have simply worn them down over time, adjusting the parking brake is something you’ll eventually need to do. In this post, we’ll walk through a quick step-by-step guide to help you adjust those brakes yourself.
Why Adjust the Parking Brake?
The parking brake is an essential safety feature on your stand-on mower—especially if you trailer your mower or park on inclines. Over time, as tires wear down and lose size, the brake can become loose, leading to the mower rolling when you don’t want it to. A weak parking brake can become problematic, especially if you park on uneven ground or transport the mower on a trailer. Regular adjustments make sure your brakes engage properly and hold tightly.
When Should You Adjust It?
You should make a parking brake adjustment in a few situations:
- After tire changes: If you install new tires or switch to a different size, the brake may need tightening.
- With worn tires: As tires wear down, the braking engagement loosens, leading to a weaker hold.
- When noticing performance issues: If your mower rolls around freely when parked, it’s a clear sign the brake isn’t secured properly.
How a Parking Brake Works
Before jumping into the adjustment process, let's quickly break down how the parking brake works on a 36-inch Toro Grandstand. The parking brake arm is connected to a brake mechanism, which engages the rear tire of your mower, much like an old-school go-kart brake. When you pull the parking brake lever, it tightens, locking the wheel in place. Ideally, about three-quarters of the way up on the brake lever throw, it should feel tight and completely lock the wheel.
If your tire still spins after pulling the lever, it’s time to make adjustments.
How to Adjust the Parking Brake
Now, let’s get started on the adjustment process. This is simple, and you can get it done in just a few minutes with minimal tools.
Step 1: Remove the Back Pad
First, you’ll need to access the adjustment mechanism. Start by removing the back pad on your mower. Toro makes this super easy—just remove the pins holding the pad in place, and it should pop right off.
Step 2: Locate the Brake Adjustment Rod
Once you’ve removed the pad, locate the small pin connected to the brake adjustment rod. You can pull it out using needle-nose pliers. It’s a little tricky at first, so take your time. If you don’t already own a Leatherman Wave (or a good multi-tool), now would be the perfect time to get one.
Step 3: Adjust the Brake Rod
Now that the pin is out, you can adjust the brake. The goal here is to reduce any slack so that pulling up on the brake lever produces a firm hold. You’ll want to twist the adjustment rod, effectively tightening the brake.
If the rod feels tough to turn, it might be packed with dirt or debris. In that case, use some lubricant spray and channel locks or pliers to get a better grip and turn it. Be cautious though—not to bend or break the rod. Grabbing it firmly with the pliers will do the job.
Step 4: Test It Out
Once you’ve found the right level of tightness (hand-tight should work for most basic adjustments), replace the small pin and reassemble the mower’s back pad. Test the parking brake by pulling the lever, then try moving the tire by hand. If the tire doesn’t budge, you’ve tightened the brake properly. The lever should be firm when you pull it up to lock the tire, but the tire should move freely when the brake is disengaged.
Why Regular Brake Adjustments Matter
A well-adjusted parking brake keeps your mower secure when loaded onto trailers and maintains a steady hold when parked—even on slight inclines. Though Florida landscapers may not deal with many hills, landscapers elsewhere certainly do. Regular brake checks and adjustments will prevent potential accidents and ensure the longevity of both your tires and the braking mechanism.
If your mower is starting to roll, don't ignore it or wait until it's too late to make adjustments—get it sorted ASAP.
Tools You’ll Need
Here’s a quick list of what you’ll need for this job:
- Needle-nose pliers (or a Leatherman Wave)
- Regular-sized pliers or channel locks
- Lubricating spray (if the rod is tough to turn)
Final Thoughts
Adjusting the parking brake on a Toro Grandstand is straightforward and something any mower owner can handle with just a few basic tools and a bit of elbow grease. Whether you’ve just gotten new tires or noticed some wear on the old ones, don’t overlook the brakes. It’s a five-minute job that’s critical for keeping your equipment—and yourself—safe.
For more tips on keeping your Toro mower performing at its best, check out our related posts on hydro oil changes, engine oil changes, and general mower maintenance. And of course, if you found this guide helpful, make sure to subscribe, share it with friends, and stay tuned for more mower know-how.
Happy mowing!
Products Discussed In The Video
- TORO GrandStand® 36 in. (91 cm) 15 hp 541cc (74534)
- https://www.mainstreetmower.com/products/toro-grandstand-36-deck-kawasaki-stand-on-mower-74534
- Shop all TORO Grandstand's
- https://www.mainstreetmower.com/collections/toro-grandstand-zero-turn-mower
Check out more fun and informative videos on our YouTube Channel here:
https://www.youtube.com/@mainstreetmower
36in grand stand, adjust parking brake, Toro, lawn mower maintenance, parking brake adjustment, tire brake adjustment, how to adjust parking brake, lawn care tips, 36-inch stand-on mower, mower safety, maintaining parking brake, needle nose pliers, DIY lawn mower repair, trailer safety, lawn mower tires, Toro mower adjustments, mower brake lever, lawn care equipment, grass cutting tips, landscaping tools

